Follow Me On Social Media!

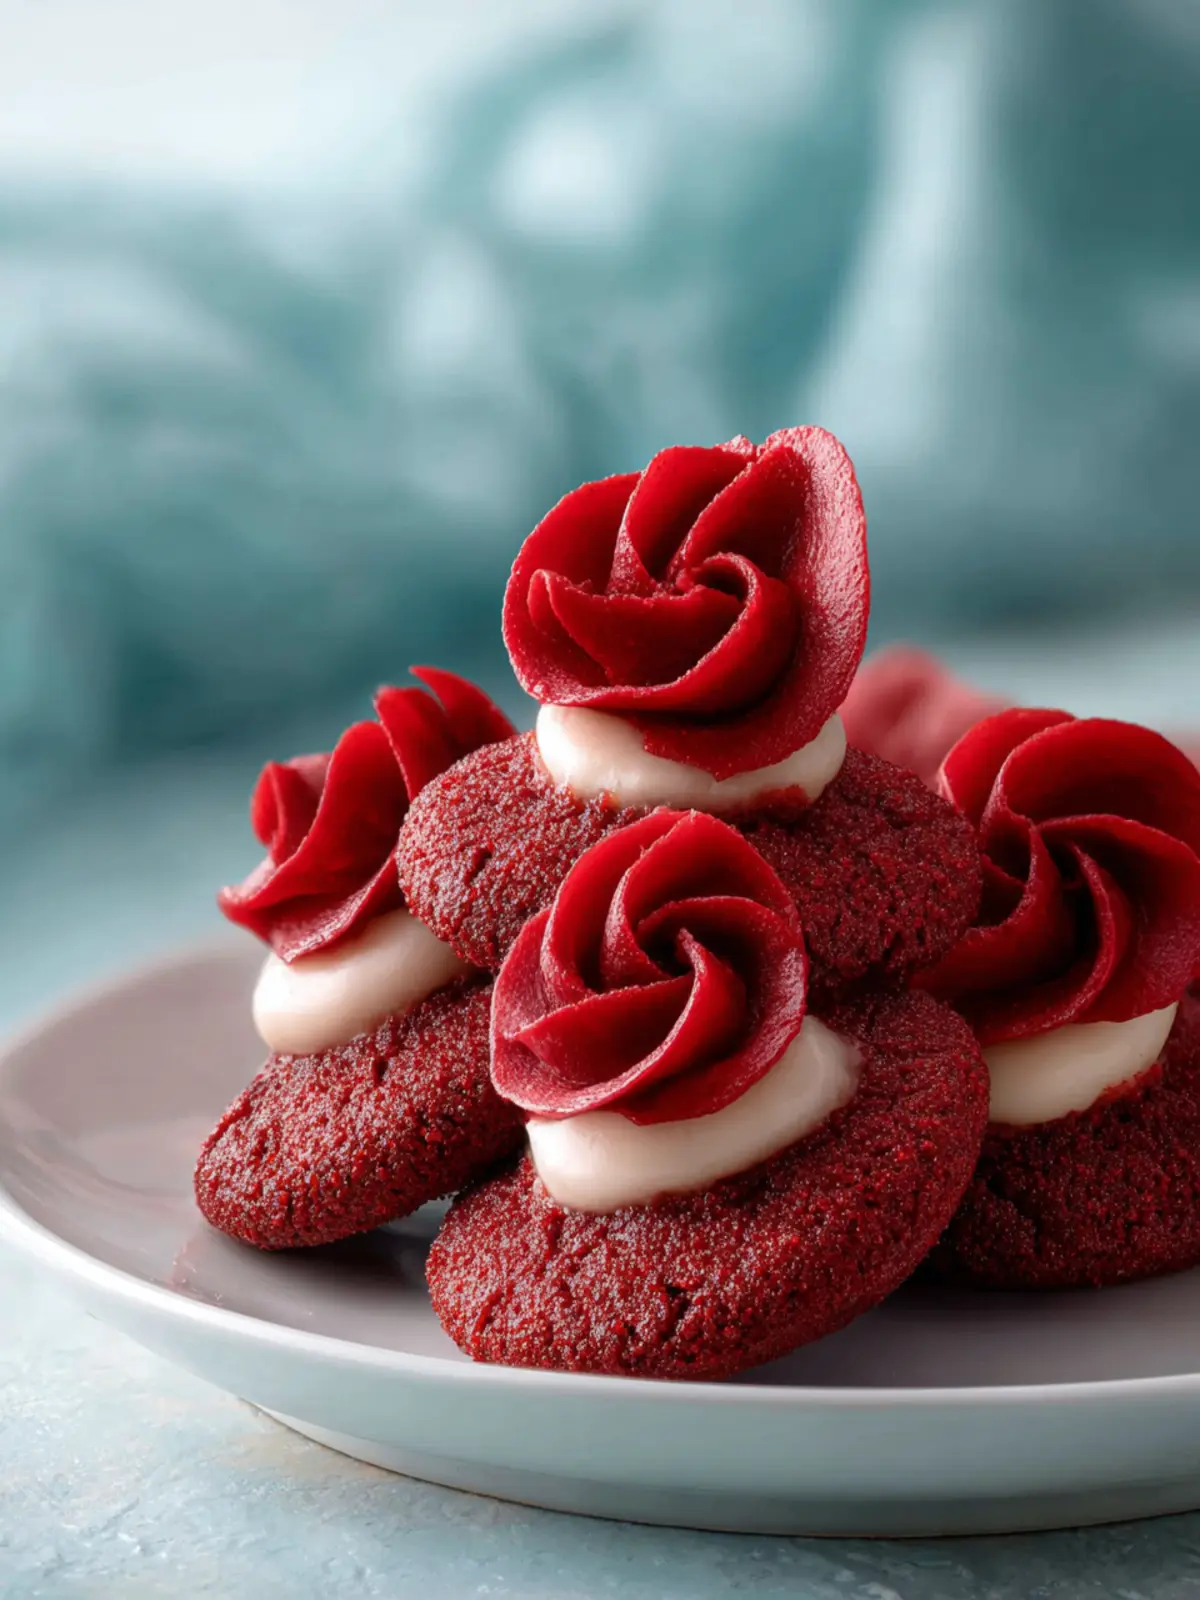
Red Velvet Blossoms: Indulgent Treats to Lift Your Day
Introduction to Red Velvet Blossoms
There’s something uniquely delightful about red velvet blossoms that draws me into the kitchen every time. The rich, velvety texture and the stunning crimson hue make them an irresistible choice when I want to bake something special. Each bite bursts with the perfect balance of sweetness and a subtle hint of cocoa. Growing up, I remember gathering around the kitchen table with family as we baked together, and red velvet cupcakes were always the star of the show. Their vibrant color and taste have a way of transforming any occasion into a celebration.
My passion for baking blossomed from these early experiences, where every mixing bowl held stories of laughter, joy, and a sprinkle of messiness. Baking not only became a means of creating delicious treats but also a form of expression and a way to connect with those I love. As I honed my skills, I stumbled upon the world of red velvet desserts, and from that moment, I was hooked.
The versatility of these velvety delights is another reason why I adore making them. From classic cakes to cookies, the possibilities seem endless. However, my favorite version has to be the red velvet blossoms. They are easy to make, perfect for sharing, and are always a hit at gatherings. Whether it’s a holiday party or a casual get-together, these cookies bring a burst of color and joy to the table.
What’s more, the combination of flavors and textures in each bite — soft biscuits topped with a creamy frosting — is pure bliss. I’m excited to share my favorite recipe with you, which I believe will bring the same joy to your kitchen. Are you ready to whip up some delightful red velvet blossoms? Grab your mixing bowl and let’s dive into this delicious adventure together!
Key Ingredients for Red Velvet Blossoms
Red velvet blossoms capture the essence of indulgence with their vibrant color and delightful flavor. These cookies aren’t just visually striking; they also offer a unique taste experience. Let’s dive into the essential ingredients that bring these sweet treats to life.
All-Purpose Flour
This flour serves as the foundation of our cookies, providing the necessary structure for those luscious red velvet blossoms. It ensures a delicate balance between softness and hold, creating cookies that don’t fall apart.
Cocoa Powder
Just a touch of cocoa powder infuses the dough with a hint of rich chocolate flavor. It enhances the sweetness without overwhelming it, making each bite a perfectly balanced delight.
Unsalted Butter
Using softened unsalted butter is key to achieving that rich, creamy texture. It creates cookies that melt in your mouth, leaving you yearning for just one more.
Sugars
A mix of brown and granulated sugars adds depth to our cookies, ensuring a chewy texture that delights the senses with every bite.
Egg
A large egg acts as the binder for the ingredients, delivering much-needed moisture and contributing to that signature soft interior.
Red Food Coloring
This ingredient isn’t just for show—the vibrant red food coloring ensures that your cookies have that iconic appearance, making them perfect for festive occasions.
White Vinegar
It may seem surprising, but a splash of white vinegar amplifies both the color and flavor of these cookies. It ensures that the red truly pops!
Vanilla Extract
A dash of vanilla extract rounds out the flavors, adding warmth and a sweet aroma that welcomes you as they bake.
Hershey’s Kisses
As the pièce de résistance, placing a Hershey’s Kiss on top of each cookie adds a creamy chocolate surprise, elevating every bite to an unforgettable experience.
With these key ingredients, your red velvet blossoms will surely become a crowd favorite!
Why You’ll Love This Recipe
Imagine sinking your teeth into a soft, tender cookie with a hint of chocolate and vibrant red color, bursting with flavor—that’s the magic of red velvet blossoms. This delightful recipe captures the essence of celebration, making it perfect for everything from casual gatherings to special occasions.
What makes these cookies truly irresistible?
-
Unique Flavor: The subtle cocoa and sweet vanilla notes create a flavor profile that is both familiar and surprising. It’s a comforting treat that stands out in any dessert spread.
-
Texture: Each bite offers a soft and chewy experience, with centers that are slightly gooey from the rich chocolate kisses. It’s this delightful contrast that keeps you reaching for more.
-
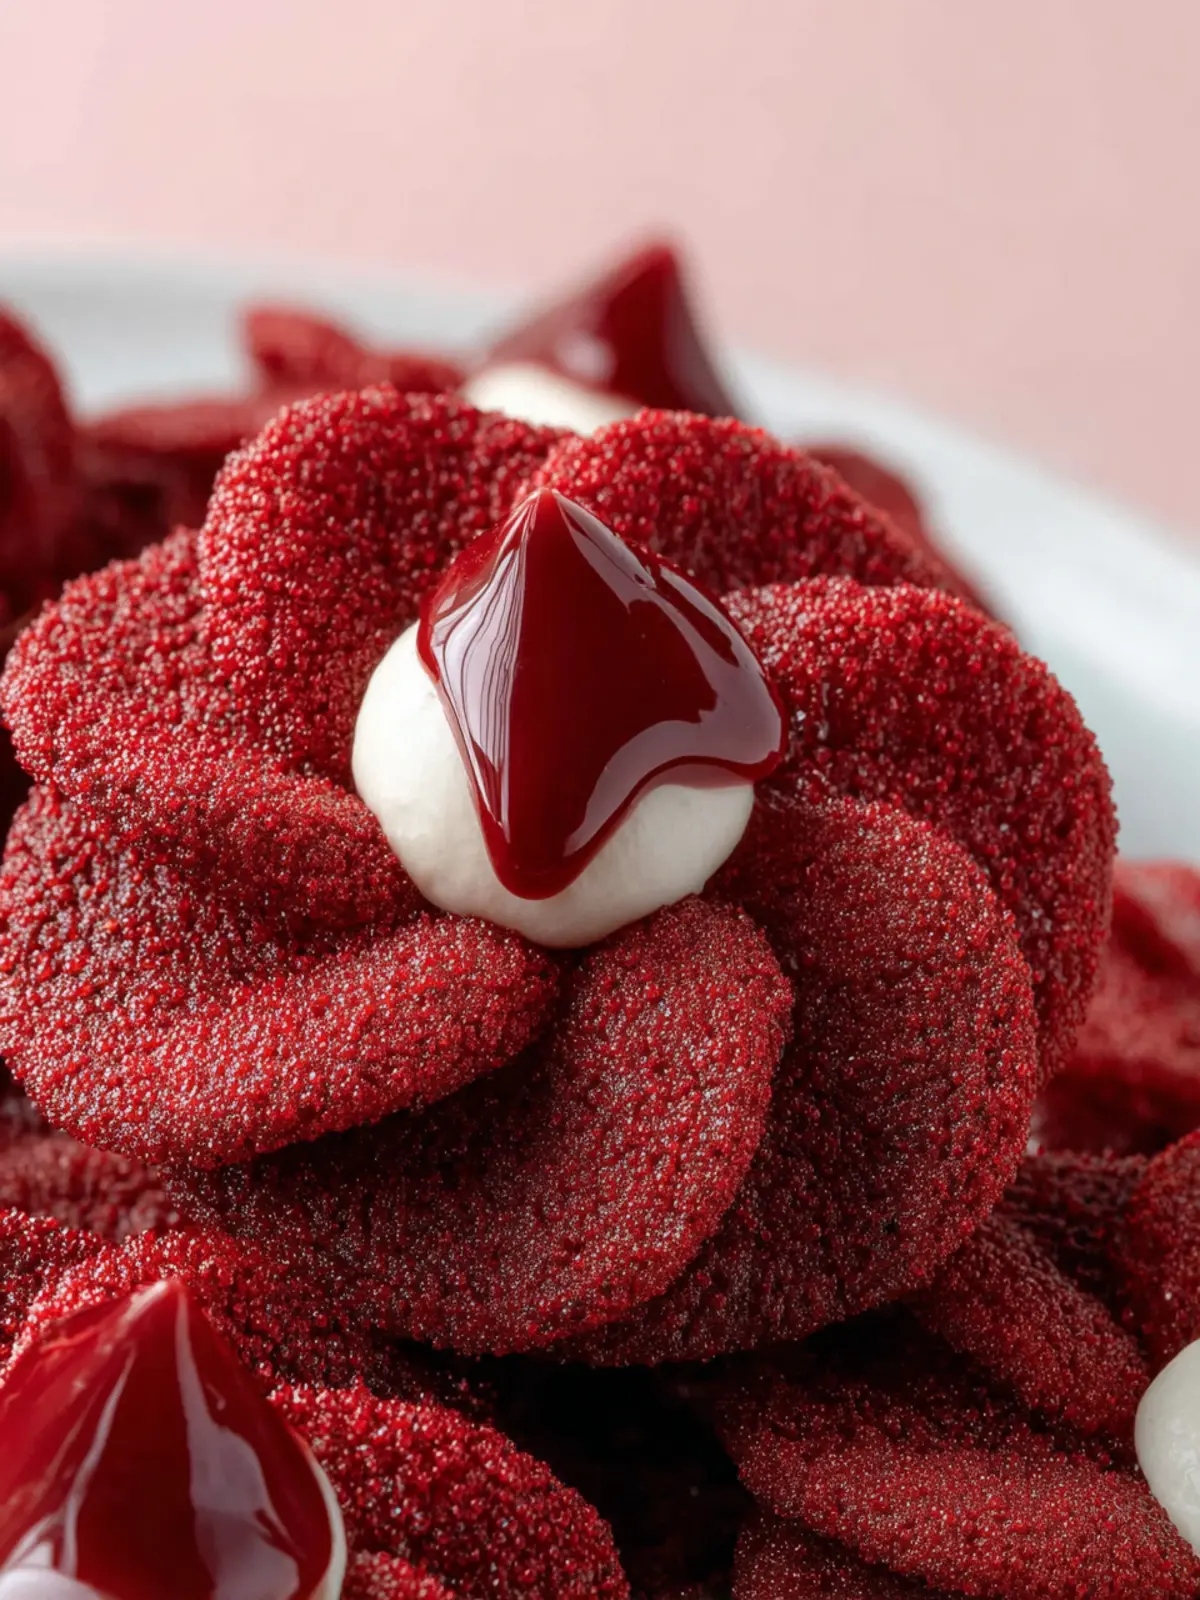
Visual Appeal: The striking red dough paired with a shiny chocolate kiss makes for an eye-catching presentation. These cookies are sure to impress your friends or that special someone when you share them.
-
Easy to Make: The process is simple enough for beginners, with minimal prep and bake time, allowing you to whip them up even on a bustling weeknight.
Indulging in red velvet blossoms is not just about satisfying a sweet tooth; it’s about creating moments of joy and delight!
Creative Variations for Red Velvet Blossoms
When creating your red velvet blossoms, let your imagination run wild! These charming little cookies can be easily transformed to suit your taste or to match any occasion. Here are several creative variations to inspire your baking adventures.
Flavor Infusions
-
Chocolate Chip Surprise: Add semi-sweet chocolate chips to the batter for a delightful surprise in every bite. The rich chocolate flavor pairs beautifully with the subtle tang of the red velvet.
-
Minty Fresh Twist: Introduce a hint of peppermint extract to the dough. This refreshing flavor takes your red velvet blossoms to the next level, making them perfect for holidays or summer gatherings.
Unique Toppings
-
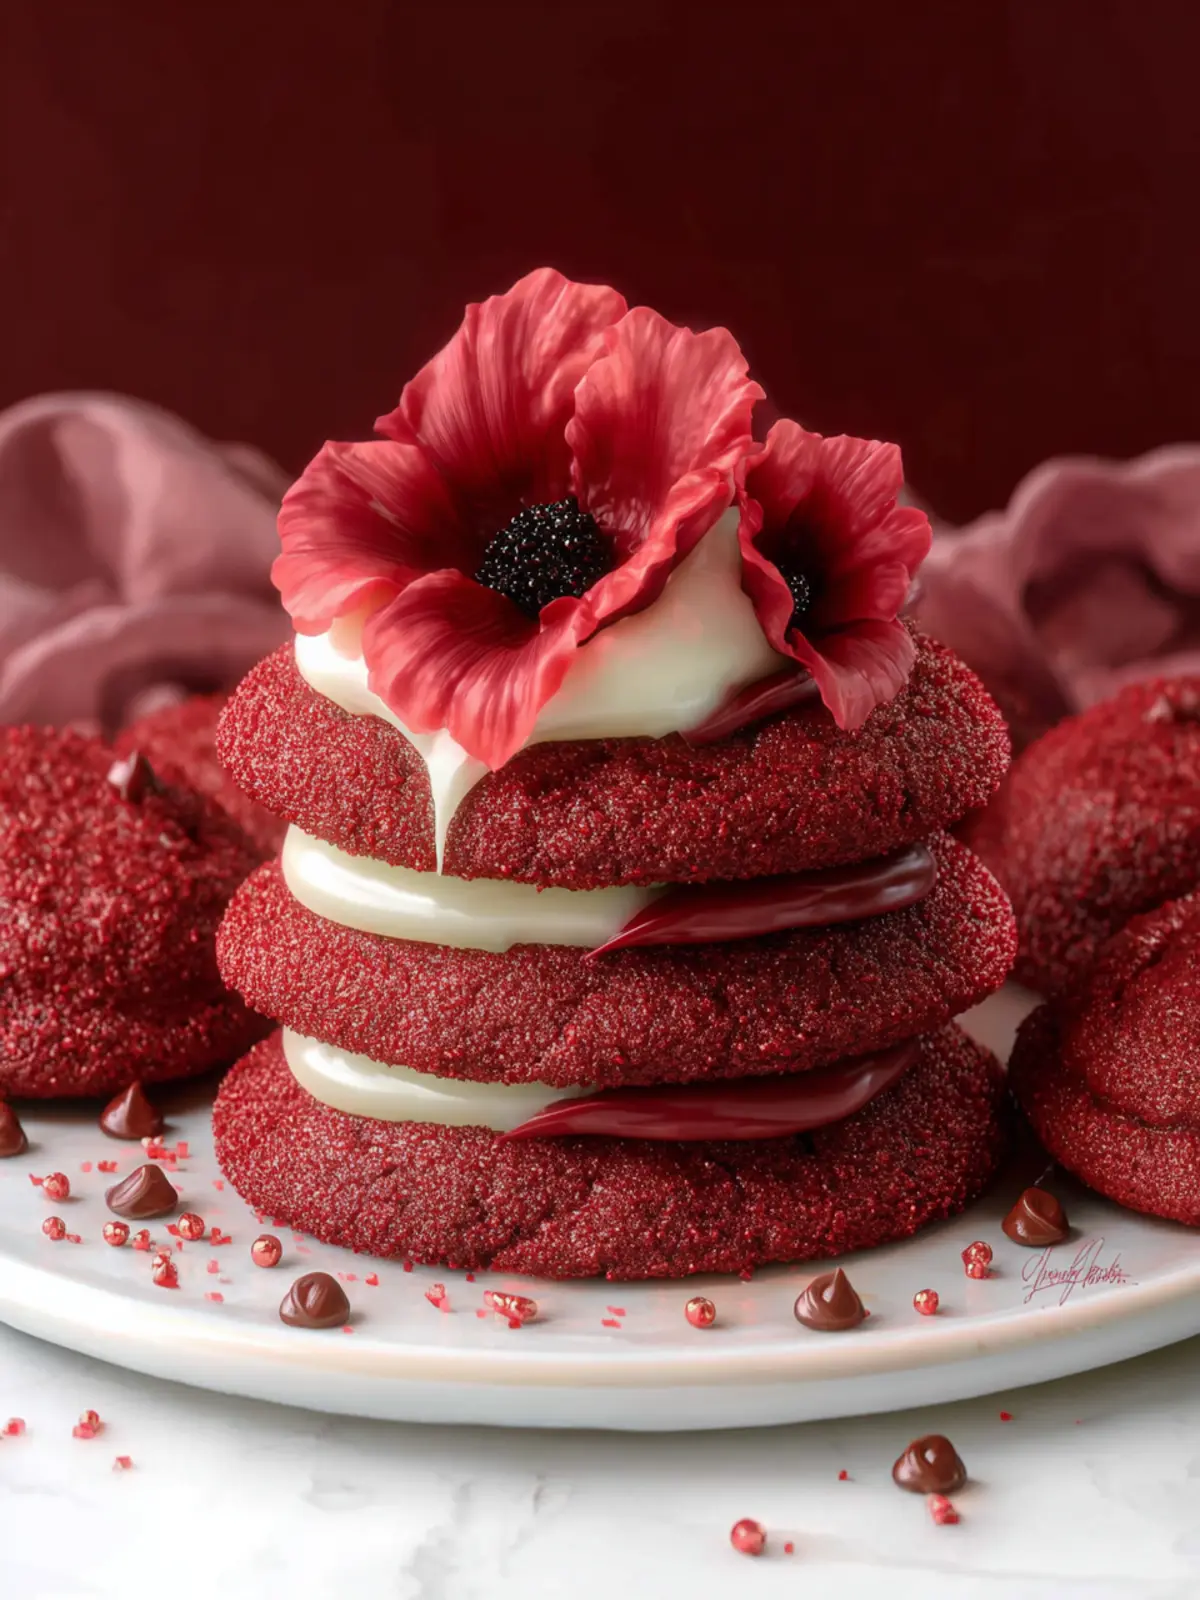
Cream Cheese Frosting Swirls: Instead of simply rolling your cookies in powdered sugar, pipe a swirl of cream cheese frosting on top. This not only looks stunning but also adds a layer of rich creaminess.
-
Sprinkling Magic: Top your cookies with festive sprinkles or crushed nuts for added texture and color. This makes them irresistible for any celebration or just a special treat at home.
Alternative Fillings
-
Nutella Center: Create an indulgent center by placing a small dollop of Nutella in the middle of each cookie before baking. The gooey chocolate hazelnut filling will make these blossoms even more extraordinary.
-
Berries and Cream: Add dried cranberries or raspberry pieces to the batter. This fruity addition complements the flavors of red velvet and brings a pop of color.
With these red velvet blossoms variations, you’re not just baking; you’re creating delightful experiences for yourself and those you share them with. Happy baking!
Cooking Tips and Tricks
Creating red velvet blossoms at home is an exciting culinary adventure. Their rich color and charming presentation are sure to impress. Here are some helpful tips to guide you through the process and ensure your cookies turn out beautifully.
Use Quality Ingredients
-
Cocoa Powder: Opt for high-quality unsweetened cocoa powder. This enhances the chocolate flavor in your red velvet blossoms and contributes to that deep, inviting color. A good rule of thumb? The darker the cocoa, the better the outcome!
-
Food Coloring: For that signature red hue, gel food coloring is your best bet. It provides vibrant color without adding excess liquid, which is crucial for maintaining the cookie dough’s texture.
Perfect Your Technique
-
Chill the Dough: Allow your dough to chill for at least 30 minutes before baking. This step helps the cookies hold their shape and results in a chewier texture—less spreading equals more beautifully formed blossoms.
-
Don’t Overmix: When incorporating the dry ingredients, mix just until combined. Overmixing can lead to tough cookies, so gently fold in those dry elements for tender results.
Baking Tips
- Watch the Oven: Every oven is different, so keep an eye on your red velvet blossoms as they bake. They’re done when the edges are set, but the centers might look slightly soft. They will continue to firm up as they cool on the baking sheet.
By following these handy tips, you’ll create red velvet blossoms that are not just tasty but also visually stunning. Cooking becomes a joy when you embrace these little tricks!
Serving Suggestions for Red Velvet Blossoms
Red velvet blossoms bring a touch of elegance to any gathering, transforming ordinary moments into delightful experiences. These charming little cookies are not only visually stunning but also versatile in how you can serve them.
Perfect Pairings
- Chilled Milk or Cream: There’s something magical about the classic combination of cookies and milk. Serve your red velvet blossoms alongside a tall glass of cold milk or a scoop of whipped cream for an indulgent treat.
- Coffee or Tea: Pair them with a warm cup of coffee or fragrant tea. The rich cocoa notes of the red velvet blossoms complement the bitterness of coffee beautifully.
Enhancing Presentation
- Decorative Platters: Arrange the cookies in a lovely platter adorned with fresh mint leaves or edible flowers. It adds a refreshing touch and elevates the appeal of your dessert.
- Dusted with Powdered Sugar: For a final flourish, a light dusting of powdered sugar can create a stunning visual contrast against the deep red of the cookies.
Special Occasions
Red velvet blossoms are perfect for celebrations! Consider incorporating them into a wedding dessert bar or as favors for birthday parties—they’re sure to leave a lasting impression.
With these serving suggestions, you can enjoy your red velvet blossoms in style while creating memorable moments with friends and family.
Time Breakdown for Red Velvet Blossoms
Creating red velvet blossoms is not just about the end product; it’s about the journey in your kitchen. Understanding the timing will help you plan your baking adventure perfectly!
Preparation Time
Getting started with red velvet blossoms requires about 15 minutes for prep. This includes gathering all your ingredients and mixing up that lovely, velvety batter.
Refrigeration Time
To enhance the flavors and ensure the perfect texture, refrigerate your dough for at least 30 minutes. This step is crucial for shaping the blossoms later on.
Baking Time
Once you’ve shaped these delightful cookies, they only need about 10 to 12 minutes in the oven. Keep an eye on them, as you want them to be perfectly chewy yet firm!
Total Time
From start to finish, you’re looking at approximately 1 hour. That’s a small time investment for such an impressive and delicious treat! Be ready to enjoy your red velvet blossoms!
Nutritional Facts for Red Velvet Blossoms
When you indulge in red velvet blossoms, it’s not just about the delightful taste—it’s also important to consider the nutritional content of these charming treats. Here’s a quick rundown of what to expect nutritionally from these vibrant cookies.
Calories
Each red velvet blossom contains approximately 120 calories. While they are rich and satisfying, they can fit into a balanced diet if enjoyed in moderation.
Sugar Content
With about 10 grams of sugar per cookie, these delights are sweetened just right to enhance their chocolatey flavors without overwhelming your palate.
Protein
You can count on your red velvet blossoms to deliver around 1.5 grams of protein each. While not a significant source, they provide a bit of sustenance alongside their sweetness.
Fats
These cookies typically contain about 6 grams of fat, primarily from butter, giving them their lovely texture and rich flavor. Choosing high-quality ingredients will give you the best results.
By being mindful of these nutritional facts, you can enjoy your red velvet blossoms even more, knowing you’re treating yourself thoughtfully!
FAQs about Red Velvet Blossoms
When you dive into making Red Velvet Blossoms, you’ll likely have some questions. Here’s a friendly guide to tackle those common queries and ensure your cookie-baking experience is as delightful as the treats themselves!
Can I make these cookies ahead of time?
Absolutely! You can prepare the dough for Red Velvet Blossoms ahead of time. Just roll the dough into balls, then freeze them in an airtight container. When you’re ready to bake, simply pop them into the oven straight from the freezer, adding a couple of extra minutes to the bake time.
What can I use instead of butter?
If you’re looking for alternatives to butter in your Red Velvet Blossoms, you might consider using coconut oil or any nut butter like almond or cashew. These options will provide moisture and a different flavor profile while keeping the cookies soft.
How should I store my Red Velvet Blossoms?
To keep your Red Velvet Blossoms fresh, store them in an airtight container at room temperature for up to a week. If they last that long (which is a big if!), you can also refrigerate them, but be sure to let them come to room temperature before enjoying them for the best texture.
Can I use a gluten-free flour substitute?
Definitely! A 1:1 gluten-free all-purpose flour blend will work well for your Red Velvet Blossoms. Brands like Bob’s Red Mill or King Arthur Flour can provide excellent results without sacrificing taste or texture.
Why did my cookies not turn out red enough?
If your Red Velvet Blossoms lack that vibrant red color, it could be due to using a lower-quality cocoa powder, which may contain less red hue. Additionally, ensuring you use enough food coloring can make a significant difference. Don’t shy away from adding a bit more if needed—just remember that the flavor should remain balanced!
Conclusion on Red Velvet Blossoms
In wrapping up our adventure with red velvet blossoms, it’s clear these delightful treats are more than just visually stunning; they’re a true celebration of flavors. The fusion of rich cocoa and vibrant red, paired with a luscious cream cheese filling, transforms a simple cookie into a memorable dessert that’s perfect for any occasion. Whether you’re sharing them at a gathering or savoring them solo with a cup of coffee, red velvet blossoms are sure to leave a lasting impression. So, let’s roll up our sleeves, bake a batch, and create sweet memories together!
Print
Red Velvet Kiss Cookies
- Total Time: 2 hours 32 minutes
- Yield: 24 cookies 1x
- Diet: Vegetarian
Description
Delicious red velvet cookies topped with chocolate Hershey’s Kisses.
Ingredients
Scale
- 1 2/3 cup all-purpose flour (209 grams)
- 2 tablespoons natural cocoa powder
- 1/2 teaspoon baking soda
- 1/4 teaspoon salt
- 1/2 cup unsalted butter (112 grams) (softened, but not starting to melt)
- 1/2 cup brown sugar (105 grams) (I used light, dark works too)
- 1/3 cup granulated sugar (67 grams) (for the dough)
- 1 large egg (room temperature)
- 1–2 teaspoons red food coloring (I use gel, liquid works too)
- 1/2 teaspoon white vinegar (or distilled)
- 1 teaspoon vanilla extract
- 2 teaspoons milk (10 ml) (use 1 teaspoon for thicker cookies)
- 1/3 cup granulated sugar (67 grams) (for rolling)
- 28–32 Hershey’s Kisses
Instructions
- In a medium bowl, sift together the flour, cocoa, baking soda and salt. Give the bowl a whisk. Set aside.
- In a separate large bowl, beat together the butter, 1/2 cup brown sugar and 1/3 cup granulated sugar until creamy.
- Beat the egg, red food coloring, vinegar and vanilla into the butter mixture until combined. At this point, the dough will look very bright red but the color will soften after the dry ingredients are incorporated.
- Mix the flour mixture into the butter mixture. I typically do this about 1/2 at a time, starting with the mixer on a low speed. It should be slightly difficult to incorporate all of the dry ingredients.
- Beat the milk into the dough.
- Cover the bowl and place in the fridge for at least 2 hours or up to 48 hours.
- Unwrap the Hershey’s Kisses, place in a freezer bag and pop in the freezer. This isn’t 100% necessary, but if you want to ensure that the Kisses retain their shape and don’t melt, be sure to freeze them first.
- Preheat the oven to 350℉ (180℃) and line cookie sheets with parchment paper or baking mats.
- Pour the 1/3 cup sugar for rolling onto a small plate or shallow bowl. Scoop the dough into balls with about 1 tablespoon of dough each. Roll into a ball, and then roll the ball in the sugar.
- Place the cookie dough balls about 2 inches (5 cm) apart on the lined cookie sheets. Bake 1 sheet at a time in the middle of the preheated oven. They’ll need about 9-12 minutes to bake, or until the tops look set.
- Remove from the oven. Let the cookies cool for 5 minutes, then place a frozen Hershey’s Kiss on top of each cookie. Cool the cookies on the cookie sheet. If you want to ensure that the Hershey’s Kisses do not melt whatsoever, place the cookie sheet in the freezer immediately after placing a Kiss on top.
Notes
- Using gel food coloring will provide a richer color.
- Chill the dough for better flavor and texture.
- Prep Time: 20 minutes
- Cook Time: 12 minutes
- Category: Dessert
- Method: Baking
- Cuisine: American
Nutrition
- Serving Size: 1 cookie
- Calories: 140
- Sugar: 10g
- Sodium: 90mg
- Fat: 7g
- Saturated Fat: 4g
- Unsaturated Fat: 2g
- Trans Fat: 0g
- Carbohydrates: 18g
- Fiber: 1g
- Protein: 1g
- Cholesterol: 30mg


