Follow Me On Social Media!

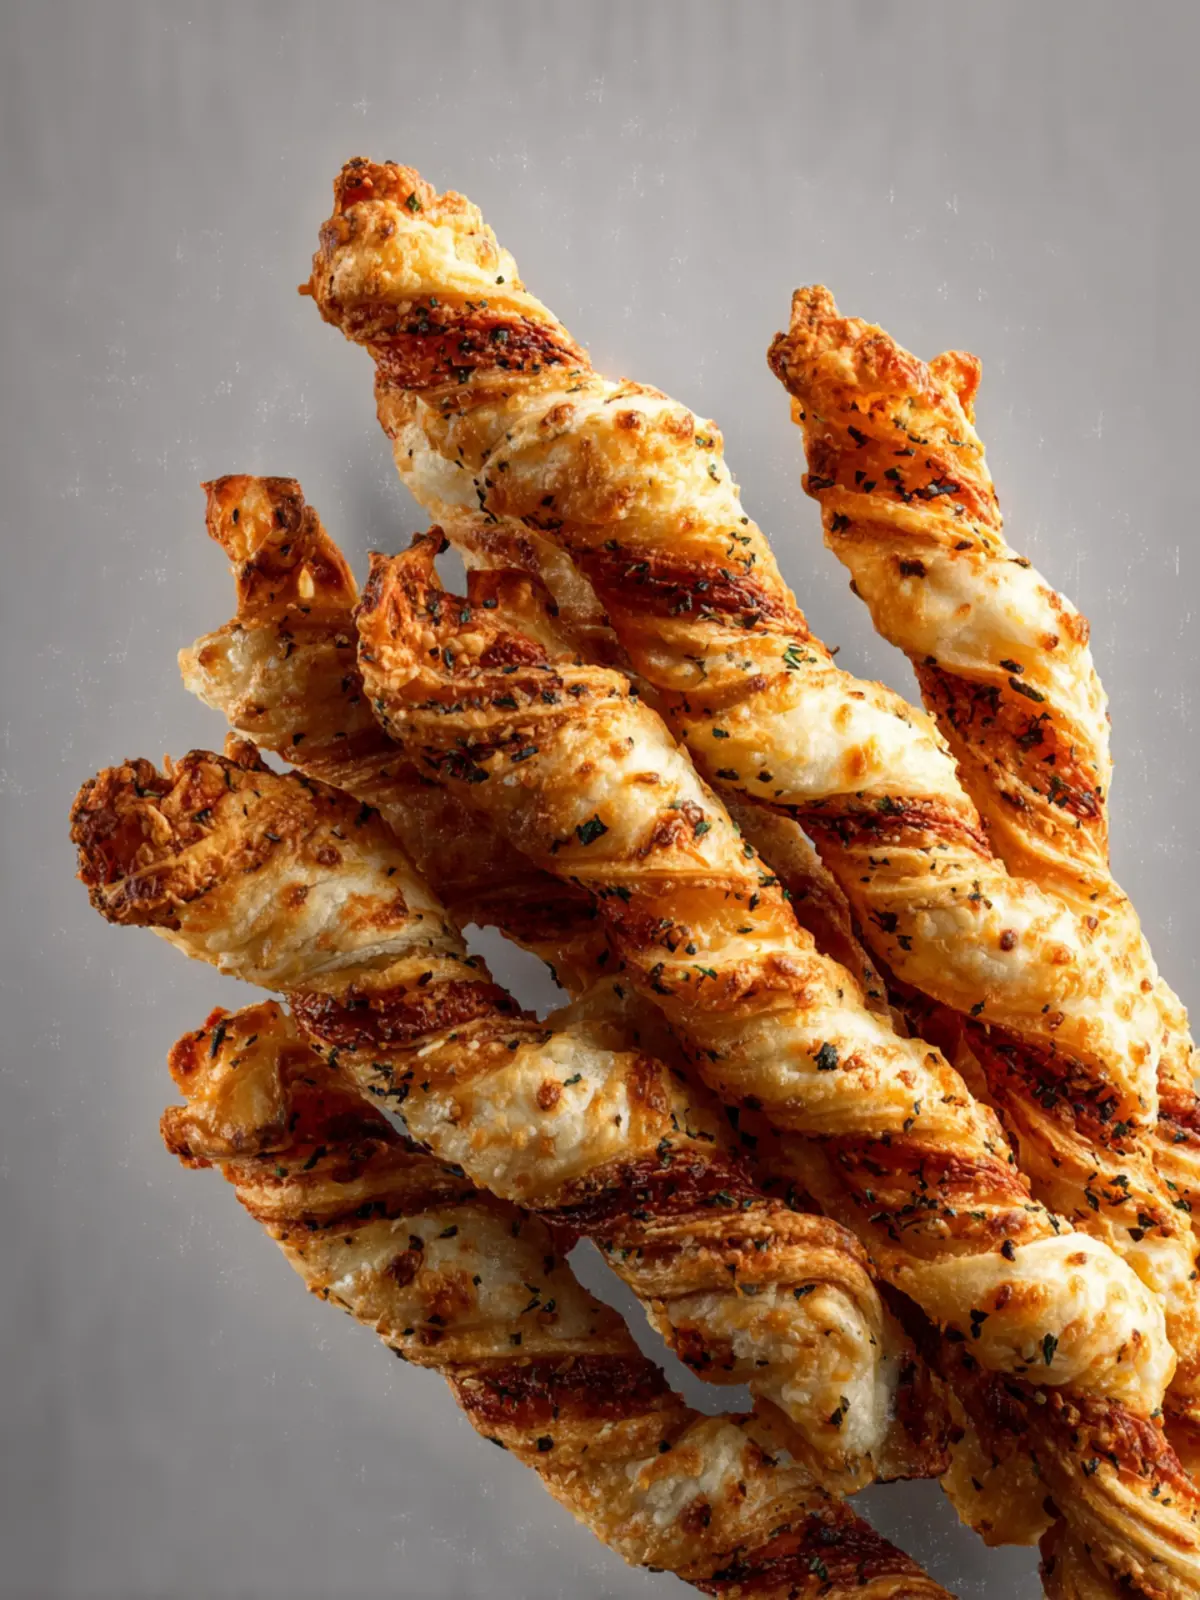
How to Make Cheese Twists: Irresistibly Easy 6-Step Delight
The Joy of Homemade Snacks
There’s something undeniably rewarding about learning how to make cheese twists in your own kitchen. These delightful, crispy snacks can bring a wave of nostalgia, reminding you of family gatherings or cozy evenings spent with friends. With just a handful of ingredients and a bit of time, you can recreate those feelings and impress your loved ones with a tasty treat.
Key Ingredients
-
Puff Pastry: This is the key to your cheese twists. While store-bought puff pastry is super convenient and saves time, making your own can be a fun project if you’re feeling adventurous. The flaky layers create that wonderful texture that pairs nicely with cheese.
-
Cheese: The star of the show! I recommend using a mix of sharp cheddar for its strong flavor and mozzarella for meltiness. If you’re feeling bold, sprinkle in some Parmesan for a touch of sophistication.
-
Egg Wash: Made from beaten eggs, this gives your cheese twists that beautiful golden shine when baked. Plus, it helps the cheese and other toppings stick.
-
Spices and Herbs: Simple seasonings like salt and pepper can elevate the flavor. Don’t be shy about experimenting—my personal favorite is a dash of garlic powder or a sprinkle of smoked paprika for an extra kick.
-
Optional Toppings: For those who like a bit of crunch or a flavor twist, consider adding sesame seeds or everything bagel seasoning on top before baking.
Now that we’ve covered the essentials, let’s get into the fun part—putting it all together in just six easy steps. Making cheese twists is as enjoyable as the result, and you’ll soon find yourself whipping them up for movie nights and casual get-togethers, or whenever that cheesy snack urge strikes! These elegant yet simple snacks become a crowd-pleaser every time and allow for creativity based on what you have on hand.
Stay tuned for the step-by-step instructions, and prepare to impress everyone with your knack for homemade treats!
Key Ingredients for Cheese Twists
Nothing brings warmth and comfort like a batch of cheese twists fresh from the oven. As I sometimes reminisce about cozy evenings filled with laughter and good food, I always return to this tasty snack that’s just perfect for sharing!
-
Puff Pastry: The backbone of our cheese twists, puff pastry provides that irresistible flaky texture that makes each bite delightful. Whether you choose to make it from scratch or opt for store-bought, ensure it’s well-chilled before rolling for the best results.
-
Cheese: This is where the magic happens! I typically use shredded sharp cheddar for a bold flavor. However, experimenting with other cheeses like mozzarella or even a smoky gouda can elevate your cheese twists to new heights.
-
Egg: A simple beaten egg serves as the glue that helps the pastry adhere, while also giving it a beautiful golden finish once baked.
-
Seasonings: Don’t underestimate the power of seasoning! A sprinkle of garlic powder, paprika, or even Italian herbs can add a burst of flavor. This is your chance to get creative with the taste.
-
Parmesan: For an extra touch, I like to sprinkle some grated Parmesan on top before baking. It adds a savory crunch that perfectly complements the texture of the pastry.
With these simple yet impactful ingredients, you’re well on your way to mastering how to make cheese twists that are not only tasty but sure to impress anyone lucky enough to enjoy them!
Why You’ll Love This Recipe
Quick prep time
When it comes to learning how to make cheese twists, the appeal lies in the swift preparation. You’ll find this recipe requires only six simple steps, making it perfect for a quick snack or last-minute appetizer. With minimal fuss and a preparation time of around 15 minutes, you can easily whip these delicious twists together and have them ready for baking in no time. Who doesn’t love a stress-free recipe that doesn’t skimp on flavor?
Versatile flavor options
The beauty of cheese twists is in their versatility. You can tailor them to your taste by experimenting with different types of cheese, herbs, or spices. Whether you crave a sharp cheddar or a creamy mozzarella, these twists can adapt to whatever ingredients you have on hand. Enhance them with garlic powder for a savory kick or sprinkle some chili flakes for a spicy twist. The possibilities are endless, making this recipe a wonderful canvas for your culinary creativity.
Perfect for gatherings
Finally, these cheese twists aren’t just a treat for individual snacking—they’re a showstopper at gatherings. Whether it’s a casual get-together or a more formal occasion, guests will adore these cheesy delights. Their delightful crunch and rich flavor make them an irresistible bite-sized treat, perfect for mingling. Plus, you can easily double or triple the batch to ensure there’s plenty for everyone to enjoy!
Variations of Cheese Twists
Crafting the perfect cheese twists opens a world of delicious possibilities, allowing you to personalize these treats to match your culinary cravings. Whether you’re throwing a party or just indulging at home, experimenting with different flavors can elevate your cheese twist game.
Different Cheese Combinations
While the classic combination of cheddar and mozzarella is undeniably delectable, you can easily switch up the cheese blend to create new flavor profiles. Consider using:
- Gouda: For a nuttier taste.
- Parmesan: Bring in a savory punch to your twists.
- Feta: Perfect for a tangy twist that contrasts beautifully with a buttery pastry.
Feel free to mix and match these cheeses or even incorporate a touch of cream cheese for extra creaminess!
Herb-Based Twists
Imagine taking your cheese twists to new heights by infusing them with fresh herbs. Some delightful options include:
- Basil and Oregano: For an Italian flair.
- Rosemary: Adds a woodsy aroma that complements the cheese.
- Chives or Dill: These herbs create a fresh and vibrant profile.
Simply chop your desired herbs and sprinkle them atop the cheese before twisting—your taste buds will thank you!
Spicy and Savory Options
If you’re craving a kick, why not spice up your cheese twists? A dash of crushed red pepper flakes or a sprinkle of smoked paprika can transform your snacks into fiery delights. You can even blend in some jalapeños or pickled peppers for an extra layer of flavor.
Embracing these variations will not only make your cheese twists unique but also showcase your creativity in the kitchen!
Cooking Tips for Cheese Twists
Crafting cheese twists is an exciting culinary adventure that can elevate any gathering. With just a few tips, you can turn these simple snacks into a delightful treat that impresses everyone.
Proper Puff Pastry Handling
The foundation of great cheese twists lies in puff pastry. Keep it cold to maintain those delightful layers. When working with puff pastry, always flour your surface and rolling pin to prevent sticking. If the pastry becomes too warm, it can become difficult to handle. Pop it back into the fridge for a few minutes to chill and make your rolling easier. This ensures you achieve that signature flaky texture we all desire.
Tips for Cutting and Twisting
When you’re ready to cut, ensure your knife is sharp for clean edges – this helps the twists rise fully in the oven. Aim for even-sized strips to ensure uniform twists. A fun trick: use a pizza cutter for quick, straight cuts. Once cut, hold each strip at both ends and gently spiral them. It’s like a mini workout for your wrists! Don’t worry if they don’t look perfect; the rustic charm is part of their appeal.
Baking Balance for Perfect Texture
Getting your cheese twists baked correctly is crucial. Preheat your oven fully for that instant puff. Keep an eye on the color – you want a lovely golden brown. Consider positioning the tray in the center of the oven for even heat distribution. If you’d like them extra crispy, bake them a couple of minutes longer, but watch closely to prevent burning. With these tips, you’re on your way to mastering how to make cheese twists that are both delicious and visually appealing!
Serving Suggestions for Cheese Twists
When it comes to enjoying your delightful cheese twists, the experience can be elevated through some simple yet effective serving suggestions. These twists are not just snacks; they can transform your gatherings and everyday meals into something special.
Pairing with Dips
Cheese twists pair wonderfully with a variety of dips, enhancing their savory flavor. Consider serving them with:
- Creamy ranch: The coolness complements the cheese perfectly.
- Warm marinara: For a touch of Italian flair, a warm tomato dip adds a delicious contrast.
- Hummus: For a healthier option, a flavorful hummus offers a satisfying blend.
Serving at Parties or Gatherings
If you’re wondering how to make cheese twists a star at your next event, think of them as crowd-pleasers. Arrange them in a basket lined with parchment paper and provide toothpicks for easy grabbing. They’re perfect for any gathering, from casual get-togethers to more formal occasions.
Creative Plating Ideas
To make your cheese twists even more visually appealing:
- Try stacking the twists in a spiral on a decorative platter.
- Sprinkle fresh herbs, like parsley or chives, over the top for a pop of color.
- Serve on a wooden board alongside various cheeses and fruits for a charcuterie-style presentation.
With these tips, your cheese twists will be irresistible and unforgettable!
Time Breakdown for Cheese Twists
Delving into the delightful world of cheese twists can redefine your snacking experience. Understanding the timing behind this recipe helps you smoothly craft these flaky, cheesy delights without a hitch. Here’s a quick guide to keep you on track.
Preparation time
The preparation for these cheese twists is a breeze, taking about 15 minutes. This includes gathering and preparing your ingredients and rolling out the dough.
Baking time
Once you’ve shaped your twists, they’ll need about 20 minutes in the oven to achieve that golden perfection.
Total time
In total, you’re looking at approximately 35 minutes from start to finish. In no time, you’ll have a warm batch of cheesy goodness to share—or indulge in all by yourself!
Nutritional Facts for Cheese Twists
Navigating the delicious textures and flavors of cheese twists often prompts the curious among us to dig into their nutritional benefits. Understanding what you’re indulging in makes enjoying this savory treat even more satisfying.
Calories
In a typical serving of homemade cheese twists, you can expect to consume approximately 150 calories. While this might seem like a modest amount, if you’re snacking mindfully, keeping track of those calories can help you maintain a balanced diet.
Fat Content
Cheese twists pack a flavorful punch thanks to their rich buttery content. On average, you’ll find around 8 grams of fat per serving. While that’s not too high, be mindful that a significant portion comes from the cheese and butter. Opting for lighter cheese or using less butter in your mixture can help create a healthier version without sacrificing too much taste.
Protein
Protein lovers will appreciate the modest contribution these bites make, offering around 5 grams of protein per serving. This can be a delightful way to sneak in some extra protein during your day, especially when indulging in cheese twists while sharing a drink with friends after work.
By being aware of these nutritional facts, you can enjoy your cheese twists with confidence, blending health and deliciousness into your snacking routine!
FAQs About Cheese Twists
Creating the perfect Cheese Twists can spark some common questions, and I’m here to help answer them! These delightful snacks are not just delicious; they’re also versatile in storage and taste.
Can I freeze the cheese twists?
Absolutely! You can freeze your cheese twists for a quick snack or appetizer later. Just allow them to cool completely after baking. Then, place them in an airtight container or freezer bag. They can be frozen for up to three months. For the best results, I recommend re-baking them straight from the freezer until heated through and crispy.
What are the best cheese alternatives?
While traditional cheese provides that amazing flavor, there are great alternatives if you have dietary restrictions. You can try options like:
- Nutritional yeast for a cheesy flavor without dairy.
- Dairy-free mozzarella or cheddar varieties are widely available.
- Cream cheese made from nuts can add creaminess without the dairy.
Feel free to experiment and find the combination that suits your taste as you learn more about how to make cheese twists.
How to reheat leftover twists?
Reheating your leftover cheese twists is simple! Preheat your oven to 350°F (175°C) and place the twists on a baking sheet. Bake them for about 10-15 minutes, or until they’re warmed through and crispy again. Avoid using the microwave, as it can make them soggy. Enjoy that fresh-baked crunch even on the second day!
Conclusion on Cheese Twists
Summary of flavors
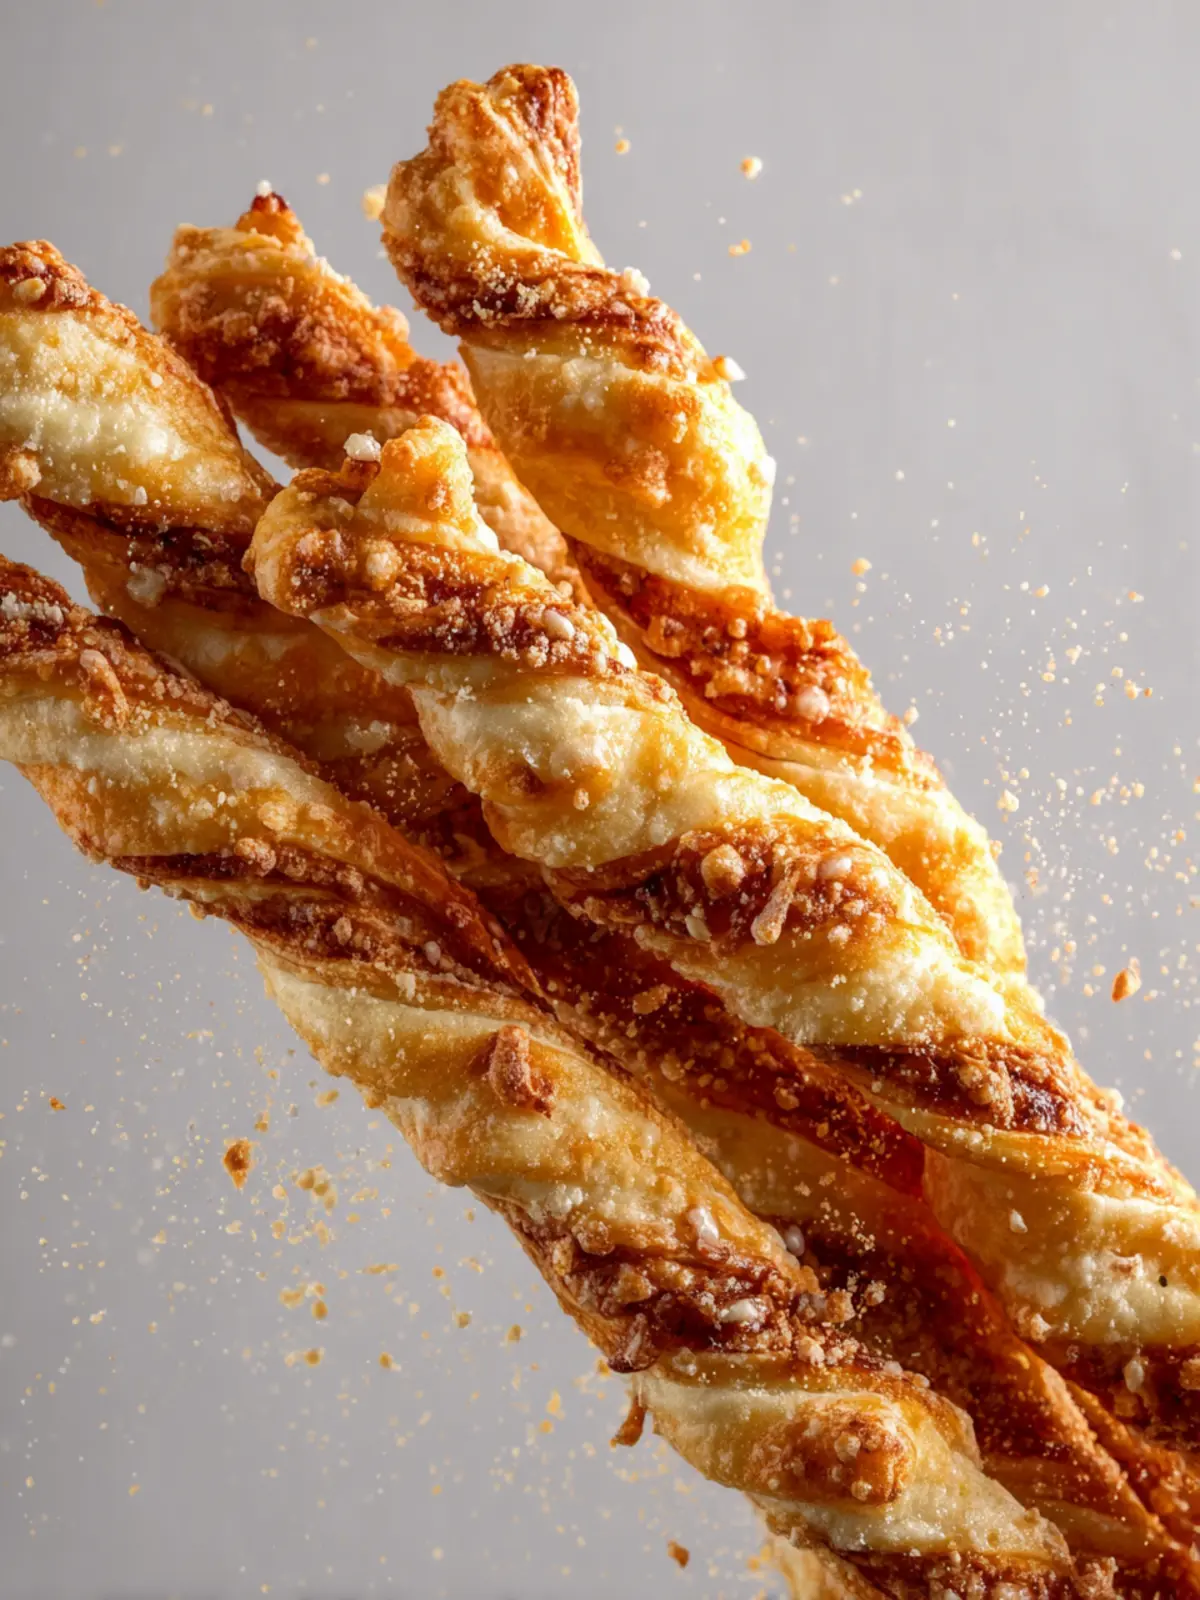
The cheese twists come together beautifully with layers of flavor—savory, cheesy goodness alongside a hint of spice, creating a delightful crunch with every bite. These flaky pastries offer an irresistible contrast of textures that’s simply addictive.
Encouragement to try the recipe
So, if you’re looking to impress at your next gathering or simply treat yourself, don’t hesitate to dive into how to make cheese twists. You won’t regret it!
Invitation to share their creations
After you’ve crafted your own cheesy masterpieces, I’d love to see your variations. Share your creations and any personal twists you’ve added to the recipe. Happy baking!
Print
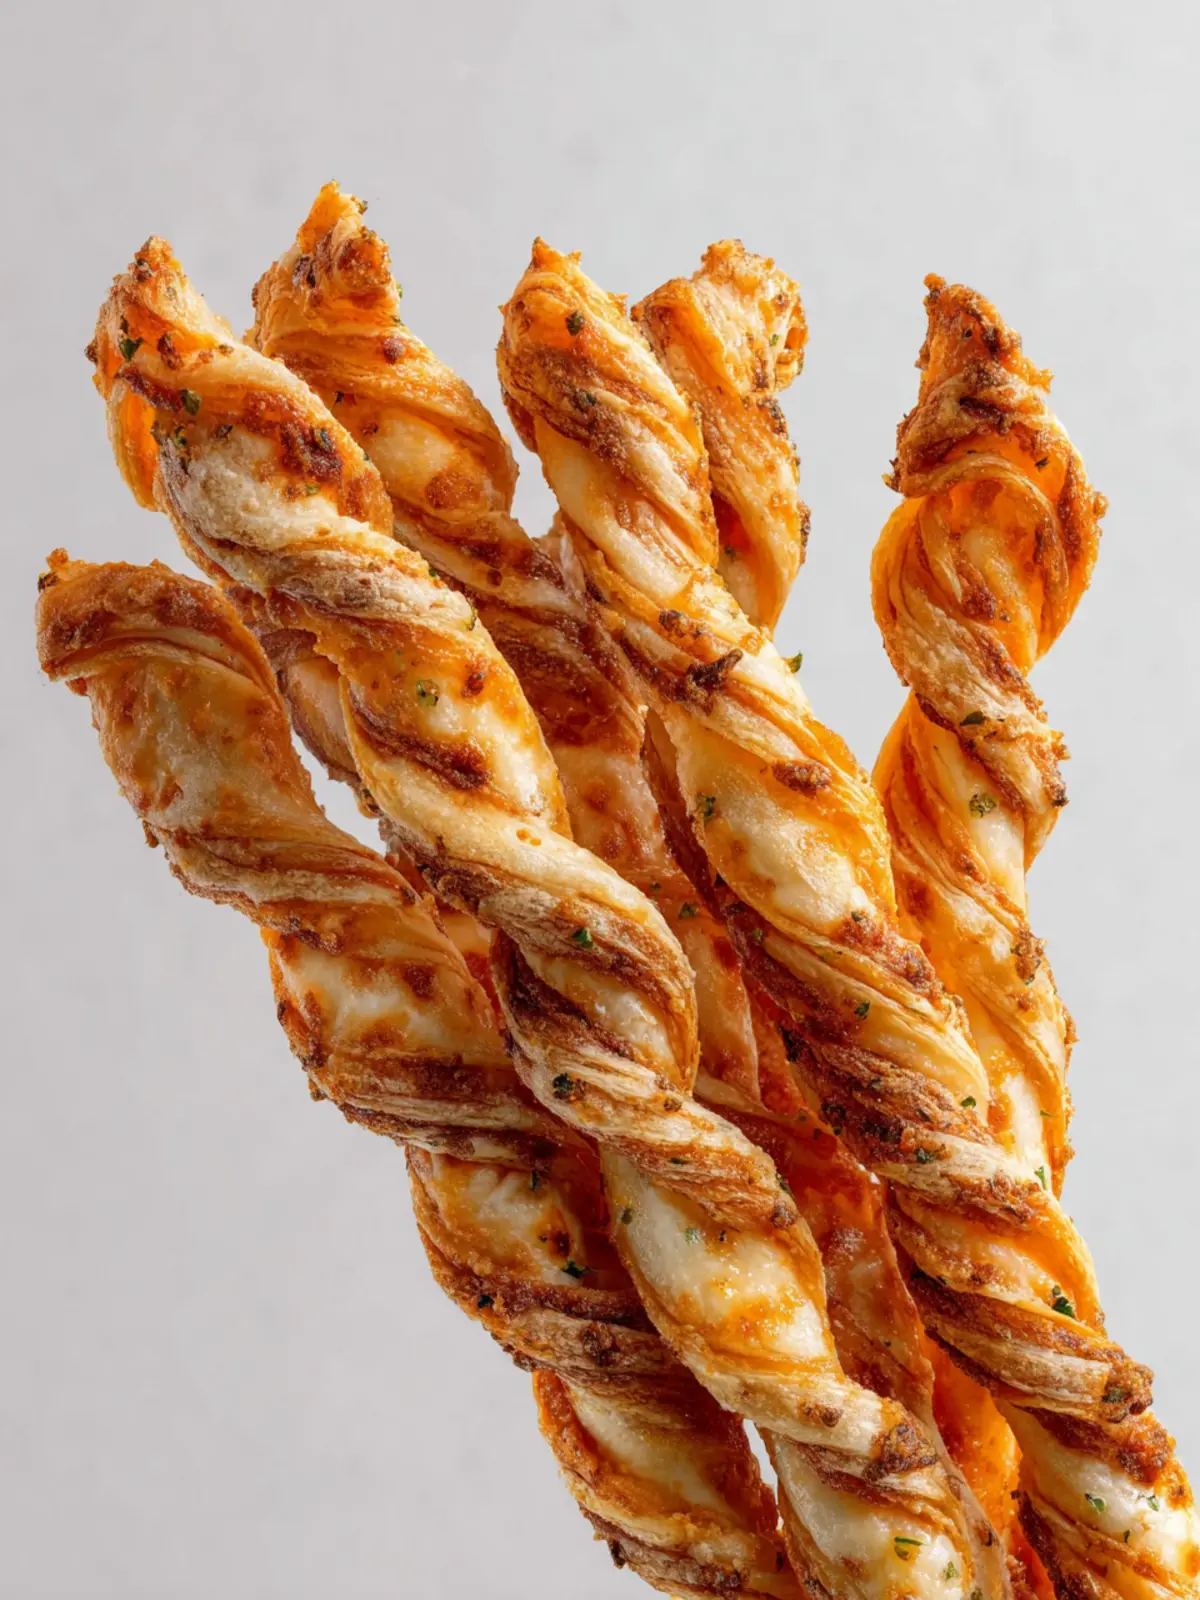
Cheesy Puff Pastry Twists
- Total Time: 40 minutes
- Yield: 8 servings 1x
- Diet: Vegetarian
Description
Delicious cheesy twists made from puff pastry, perfect for a snack or appetizer.
Ingredients
Scale
- 1 (17 ounce) box puff pastry (2 sheets), thawed at room temperature
- All-purpose flour, (as needed, for rolling)
- 1 large egg
- 1½ cups shredded sharp Cheddar cheese, (divided)
- 2 tablespoons chopped chives, (divided)
- ¼ teaspoon cayenne, (divided)
- Kosher salt, (as needed)
- Freshly ground black pepper, (as needed)
Instructions
- Preheat the oven to 400ºF (200ºC).
- Unfold puff pastry sheets onto a clean, lightly floured work surface. If the puff pastry box comes with only 1 sheet, then cut it in half. Use a rolling pin to lightly roll the dough out, just enough to smooth any creases from the dough.
- In a small bowl whisk together the egg and 1 tablespoon water. Use a pastry brush to spread the egg wash over one sheet of puff pastry. Sprinkle half the cheese over the egg wash. Top with ½ the chives and cayenne. Season with salt and pepper.
- Layer the second sheet of puff pastry over the top of the cheese and press gently to adhere the edges.
- Brush the top with egg wash and sprinkle the remaining cheese, chives, and cayenne over the top.
- Lightly sprinkle the rolling pin with flour and then gently roll the rectangle of cheesy puff pastry out so it’s ¼” thick.
- Cut the puff pastry into ½” thick strips. For shorter cheese twists, cut the strips in half crosswise (optional).
- Working one strip at a time, carefully twist each strip several times. Line baking sheets with parchment paper or silicone baking mats. Place strips 1” apart on the baking sheet. Repeat with the remaining strips, working in batches if needed.
- Cook until the twists are golden brown, rotating the pans halfway through, about 15 to 20 minutes. Let cool completely and serve.
Notes
- For added flavor, you can experiment with different cheeses.
- These twists can be served warm or at room temperature.
- Prep Time: 20 minutes
- Cook Time: 20 minutes
- Category: Appetizers
- Method: Baking
- Cuisine: American
Nutrition
- Serving Size: 1 twist
- Calories: 150
- Sugar: 1g
- Sodium: 220mg
- Fat: 10g
- Saturated Fat: 5g
- Unsaturated Fat: 3g
- Trans Fat: 0g
- Carbohydrates: 12g
- Fiber: 0g
- Protein: 4g
- Cholesterol: 50mg


